
Trail Camera for Backyard: Why Your Feeder Photos Come Out Blurry
A trail camera has one fixed focus distance, set for an animal walking past a tree, not a squirrel on a feeder a few feet away. Put it too close and every photo is soft, forever, and no setting fixes it. Back it off, angle it down, set the sensitivity to medium, and buy the SD-card model, because you're walking out to your own yard anyway.
 Ray Ostrander · Updated July 24, 2026 · how I decide
If you buy through a link here, the site earns a little. It's never why anything gets picked.
Here’s the thing almost nobody tells you before you strap a trail camera to a tree by the bird feeder. A trail camera has one fixed focus distance, chosen at the factory for an animal walking past a tree, not for a squirrel sitting on a feeder a few feet from your kitchen window. Put it too close and every picture comes out soft, permanently, and no setting will fix it. The trick isn’t aiming. It’s distance: back the camera off to the range it was built for, angle it down a bit, set the sensitivity to medium so it stops firing at every shadow, and buy the SD-card model, because the only thing a monthly plan buys you isn’t having to walk out there, and in your own backyard you’re walking out there anyway.
This is the happiest corner of this whole subject, by the way. Nobody here’s defending anything. You just want to know what walks through your yard at two in the morning, and it turns out the answer is often wonderful.
What's on this page
- Here's what's actually happening: the camera can't focus on your feeder
- So how far back should it go?
- The other backyard headache: 4,000 photos of a waving branch
- Where to point it, and what to set
- Which camera to actually buy
- One quiet word on where it points
- Questions people actually ask
- What I'd tell a parent in the hallway
Here’s what’s actually happening: the camera can’t focus on your feeder
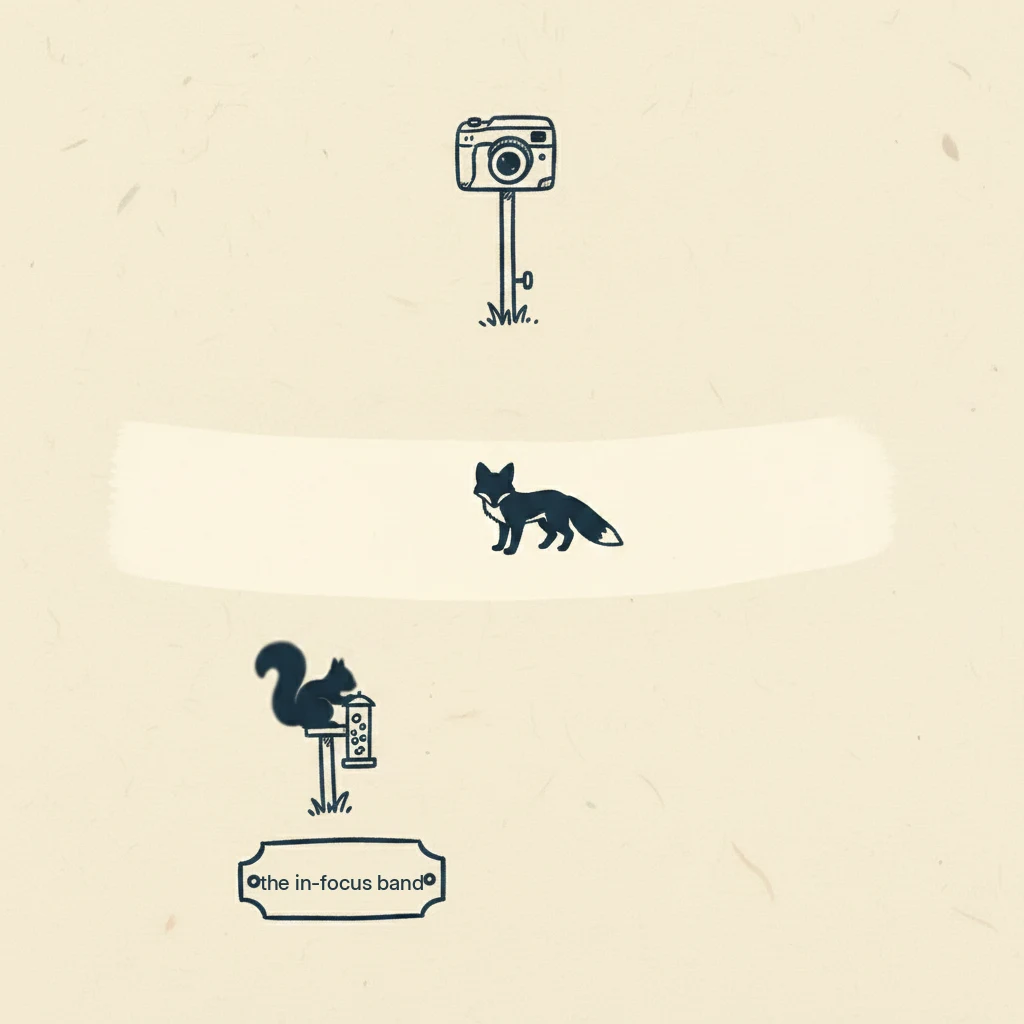
Let me give you the one fact that explains most backyard disappointment. The gear guides state it plainly: “Most trail cameras will come with a fixed focus and aperture.” Fixed focus. That means the camera doesn’t focus at all, not the way your phone does. It has one distance where things are sharp, set permanently by the manufacturer, and that distance was chosen for a deer or a fox crossing at a comfortable range.
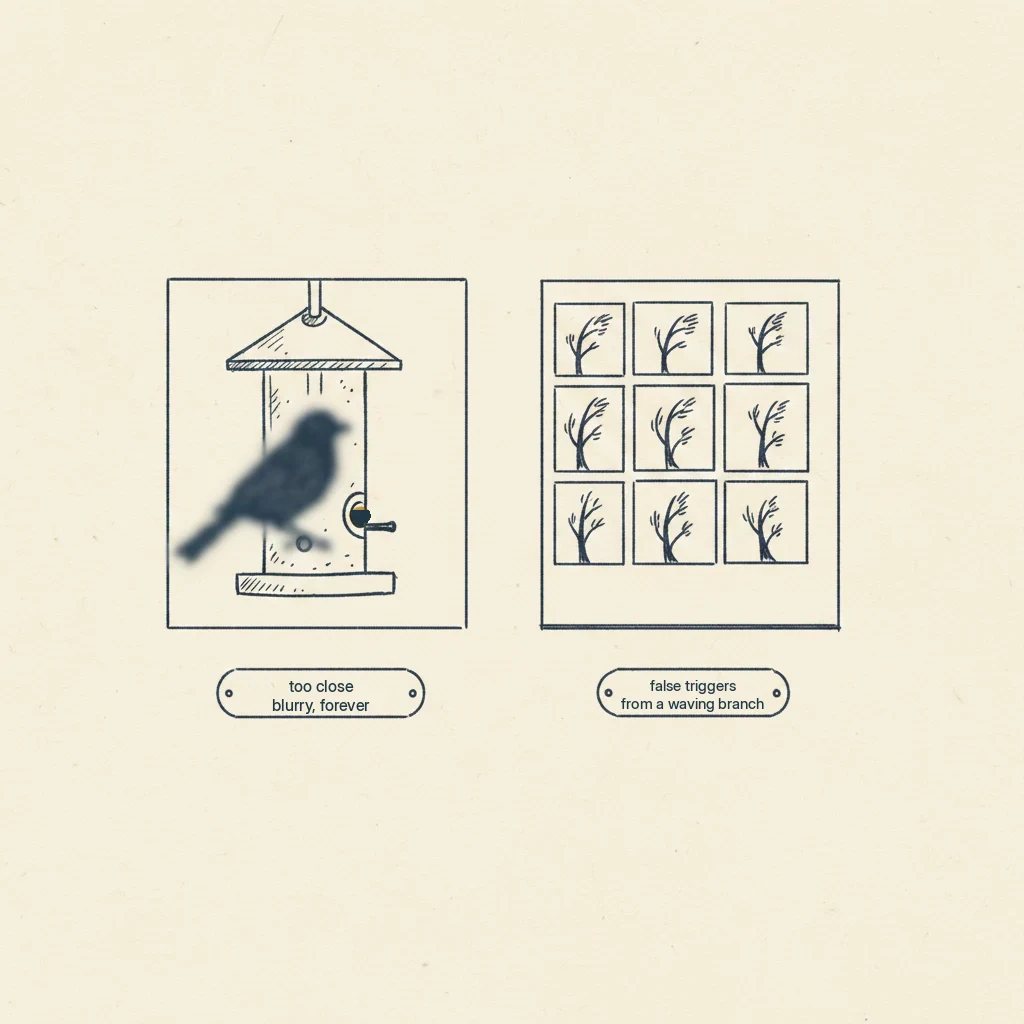
So when you mount it four feet from a feeder to catch the chickadees up close, you’re asking it to do the one thing it physically cannot: focus on something inside its close range. The birds come out as fuzzy little smudges, and you assume you did something wrong. You didn’t. You just bought a camera aimed, in effect, at the middle distance, and pointed it at the near distance. That’s the whole problem, and it’s a distance problem, not a skill problem.
So how far back should it go?
Here’s where I have to be honest with you, because the sources genuinely don’t agree. Different guides recommend everything from about five feet to over thirty. One says a couple meters, another says five to ten feet for small animals, another says ten to twenty, another says animals should pass several meters out. They contradict each other, and I’m not going to pretend one of them is the truth by splitting the difference.
What I can tell you is the useful version. Your specific camera has one fixed focus distance, and the only number that actually matters is the one in your camera’s own manual. Find that number, and place the feeder or the trail at that distance, not closer. If the manual doesn’t say, err on the side of farther back than feels natural, because too far gives you a small sharp animal, while too close gives you a big blurry one, and a small sharp animal is the one you can actually enjoy.
There’s one more thing worth knowing, because it’s the piece almost nobody realizes exists. For getting genuinely close to small animals, there are close-focus lenses that attach over the front of a trail camera to let it take sharp pictures at a nearer range. I can’t point you to a specific one yet, because I haven’t been able to confirm the price or which cameras they fit, so treat this as a thread to pull, not a purchase to make. But if your heart is set on crisp feeder shots, that accessory, not a whole new camera, may be the answer.
The other backyard headache: 4,000 photos of a waving branch
The second thing that goes wrong is the opposite of nothing: the card fills up with thousands of pictures of absolutely nothing. This one’s easy to fix once you know the cause.
Trail cameras trigger on motion, and if you leave the sensitivity turned all the way up, it will “react to even small movements,” as the guides put it: a branch swaying, tall grass in the wind, a shadow sliding across the lawn. And here’s the sneaky one. If the sun ends up directly behind the camera, it can be falsely triggered all day by “moving light and shadows” as the sun tracks across the sky. So the fix is two small moves that cost nothing: set the sensitivity to medium instead of maximum, which is usually plenty to catch real animals in a backyard, and mount the camera so it isn’t staring into the path of the sun. That alone turns 4,000 junk photos into a card full of actual visitors.
Where to point it, and what to set
On placement, the people who do this a lot don’t fully agree, so I’ll give you the honest spread rather than a fake rule. One experienced backyard watcher says most folks naturally mount the camera three or four feet up in a nearby tree, but he prefers to mount his higher and angle them down. Other guides put it lower, a couple feet off the ground, pointed down a bit, or right around the eye level of the animal you’re hoping to see. I won’t invent a reason one beats the other, because the sources don’t give me one. What they agree on is the useful part: find the low spots and natural paths where your yard dips, the places a critter would actually travel. One watcher calls them “critter highways,” and they’re where the good pictures come from.
For settings, a nice trick from someone who does this with his kids: if the animals are only showing up after dark, switch to burst mode at the highest resolution, so you get several shots of each visitor and at least one comes out well. If they’re mostly daytime visitors, video mode catches the behavior. Neither of those costs a penny, and they change your results more than a pricier camera would.
Which camera to actually buy
Now the easy part, because the answer for a backyard is the cheapest honest one on the whole subject.
The one thing a cellular camera’s monthly plan buys you isn’t having to walk to the camera. But your camera is in your backyard. You’re going to walk out there anyway, and walking out there’s half the fun. So skip the subscription entirely and get an SD-card camera like the Browning Recon Force Elite HP5, about $180, which has no monthly plan, no photo limit, and never bills you again. You pull the card, you look at it together, done.
If you’d rather spend less up front and your yard’s a quiet one, a cellular camera on a free tier can work too. The SPYPOINT Flex-M is about $80 and includes 100 free photos a month, which for a low-traffic corner may be all you need. Just know that a busy backyard blows past 100 photos in no time, and then you’re paying, so the SD-card camera stays the cleaner answer for a yard with a lot of life in it.
One quiet word on where it points
Point it at your own yard, at the ground, at the animals. That’s what you want anyway, and it happens to keep you well clear of anything awkward. These cameras can record sound, and a backyard camera can sometimes see past your own fence toward a neighbor’s yard or a sidewalk, and the rules on recording and on where a camera may point vary from place to place. I’m not going to tell you what your local rules are, because I don’t know where you live. Just aim it at the fox and the feeder, keep it on your own ground, and check your own area’s rules if you’re ever unsure.
Questions people actually ask
Why are my backyard trail camera photos blurry?
Because a trail camera has a fixed focus distance, and you’ve almost certainly mounted it too close to your subject. It can only make things sharp at the one range it was built for, usually a middle distance for a passing animal, not a feeder a few feet away. Move the camera back to the distance in its manual and the pictures come into focus. No setting will fix a too-close blur.
How far should a trail camera be from a bird feeder?
Far enough to be inside the camera’s fixed focus range, which varies by model, so check your manual for the number. The guides disagree on a single figure, with advice running from about five feet to well over thirty, but the rule that holds is to err farther rather than closer. A small sharp bird beats a big blurry one. For truly close feeder shots, a close-focus lens accessory exists.
How do I stop my trail camera taking thousands of empty photos?
Turn the sensitivity down from maximum to medium, which still catches real animals but ignores small movements like swaying branches, and mount the camera so the sun isn’t behind it. Sun tracking across the sky throws moving shadows that trigger the camera all day. Those two free changes fix the vast majority of false triggers.
Do I need a cellular trail camera for my backyard?
No. A cellular plan exists so you don’t have to walk to the camera, and your backyard camera is a short walk away, one you’ll happily make. Buy an SD-card camera with no monthly fee, pull the card when you like, and skip the subscription entirely. It’s the cheapest good answer there is.
What I’d tell a parent in the hallway
If you cornered me about this one, here’s exactly what I’d say. Don’t put it right by the feeder. Back it off to the distance in the manual, tip it down a little, and turn the sensitivity to medium so it stops photographing the wind. Buy the plain SD-card camera and skip the monthly plan, because the whole joy of this is walking out with the kids to pull the card and finding out a bobcat crossed the yard at three in the morning. That moment, a kid leaning over a photo of an animal nobody knew was out there, is worth more than any spec on the box. And if the interest lasts one summer and then fades, that’s fine too. You still got the summer.
If you’re not sure a trail camera is even the right tool, security camera vs trail camera sorts it out, and if you want the pure money argument for skipping the subscription, best trail camera for the money reaches the same answer I did by adding up three years of plan costs. For the broader picks, the best trail camera for security is the hub, and a driveway camera without WiFi covers the spots farther from the house.
Ray Ostrander
Ray spent three decades explaining the sky to twelve-year-olds and their parents, and every January, hearing which Christmas telescopes ended up in the closet. He doesn't own a wall of gear and won't pretend to. He reads everything, tells you what owners agree on, and flags what's just his judgment. His goal is simple: no more January closets.